Selfie Poses That Work in 2026 (and the Ones to Skip)
Summary
Selfie poses work when your face has something to do. Start with the three-quarter turn: rotate 10 to 20 degrees and look at the lens dot. Add a free hand on the jaw, shift your weight in mirror shots, and use a timer when your arm is not enough. Shoot twenty frames and keep two. Skip duck face and heavy from-below angles, then run your best frame through an AI style.
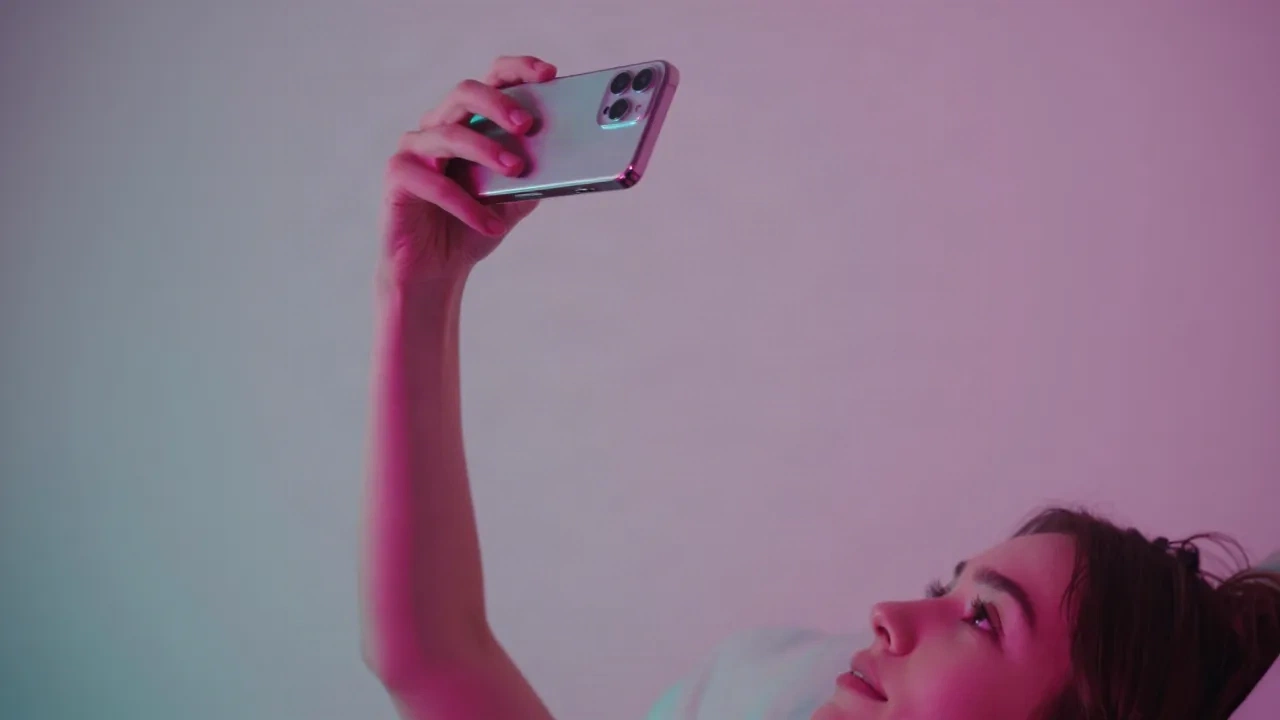
The best selfie poses are the ones that give your face something to do: a tilted chin, a hand on the jaw, a look-away at the right moment, a weight shift in the mirror. Stiff and front-facing is what makes a selfie look like an ID photo. Below are the selfie poses worth stealing in 2026, the ones to skip, and how to turn a decent pose into a post people actually stop on.
Why do most selfie poses look the same?
Because everyone starts from the same default. Phone at arm's length, face dead center, chin forward, tiny smile. It is the selfie equivalent of a LinkedIn headshot, and it flattens everything.
The fix is not a trick. It is movement. Shoot while you are changing something (your head angle, your hand, your expression) and pick the frame in the middle of the change. Burst mode is your friend here. Expert Photography's selfie guide says the same thing: take many frames as your expression shifts, then keep the one with sharp eyes.
The truth is that a "good pose" is mostly a good frame out of twenty. People who post great selfies are not better at posing. They are better at deleting.
The three-quarter turn (your safe default)
Turn your face 10 to 20 degrees away from the lens, then look back at the camera dot, not at the screen. That is the whole pose.
It gives your face some shape, it sharpens the jawline without any editing, and it works on pretty much everyone. If you only learn one of the selfie poses on this page, make it this one.
Two small upgrades:
Drop your shoulders and unclench your jaw before you press the button. Tension reads instantly on a front camera.
Look down first, then up at the lens. Your eyes open on their own and the smile stops looking forced.
Skip it if you want the deadpan, looking-at-nothing vibe. That one needs the straight-on frame.
Which camera angle actually flatters you?
Slightly above eye level, tilted down a touch, is the one that works for most faces. It opens the eyes and keeps the chin from doubling.
But the angle is only half of it. Distance matters just as much. Hold the phone very close and the parts nearest the lens (nose, forehead) get exaggerated, which Expert Photography ties back to research on how close selfies differ from portraits shot from farther away. So back up, zoom in 2x, and prop the phone if you can.
The classic from-below angle has a bad reputation, and mostly it earned it. It is great for one thing: a cropped, moody, jaw-forward shot where you want to look slightly intimidating. For everyday posts, skip it.
Overhead angles are the reverse. They make eyes look bigger and they are why the lying-on-the-bed selfie keeps coming back. They also add a double chin on a lot of faces if you drop the phone too low, so check the preview before you commit.
How do you do a full-length mirror selfie without looking stiff?
This is the pose that keeps coming back in 2026 trend lists, because it shows an outfit, a mood and a place in one frame. It also fails more often than any other pose.
What works:
Stand far enough back that your head and shoes both fit, then check the frame edges before you shoot.
Shift your weight onto one leg. A flat, two-feet-together stance looks like a security photo.
Let the phone cover part of your face, or lower it to your chest, and give one arm something to do (a pocket, a jacket hem, a bag strap).
Clean the mirror. Fingerprints catch the light and ruin the shot.
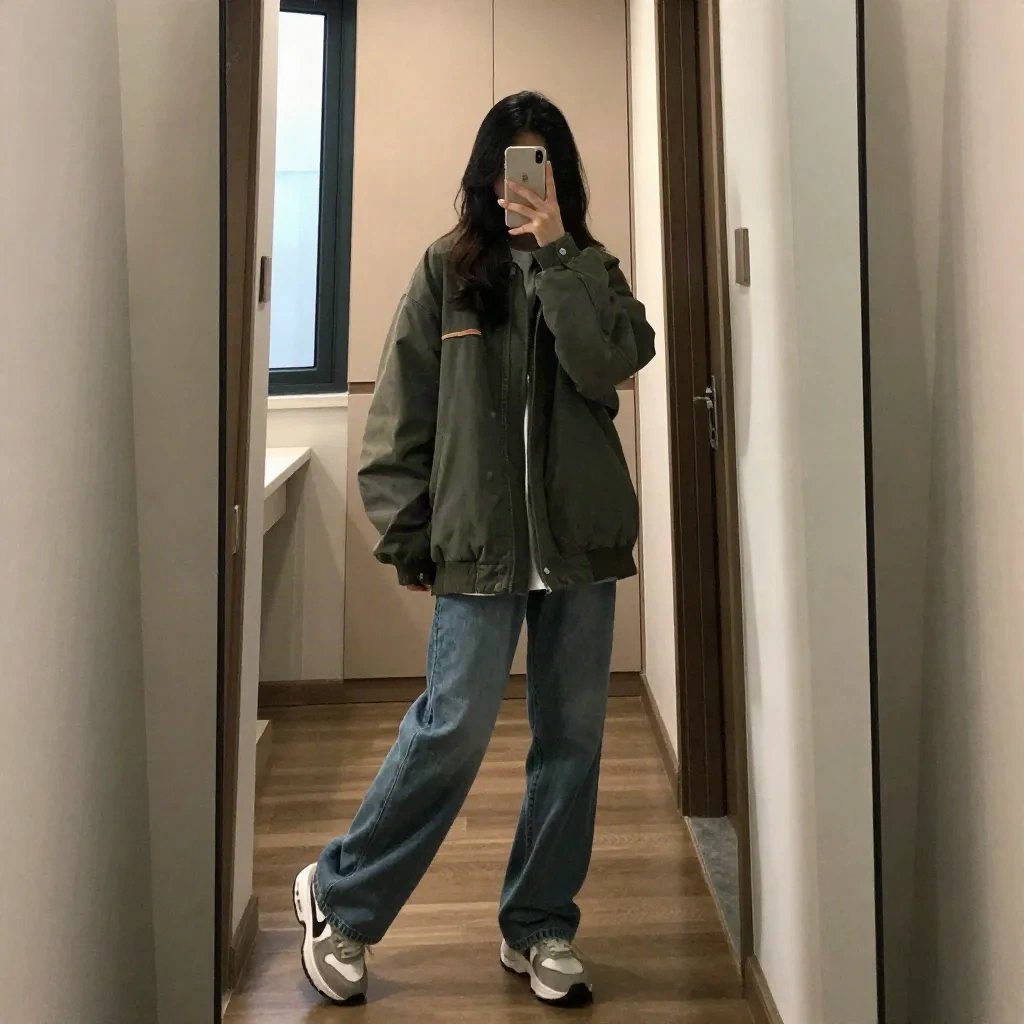
The limit nobody mentions: the mirror selfie is as much about the room as the pose. A messy background is fine if it looks lived in, but a hallway with a laundry pile in the corner just looks like a hallway with a laundry pile. Do a quick scan of the frame edges.
Which hand poses make a selfie look less awkward?
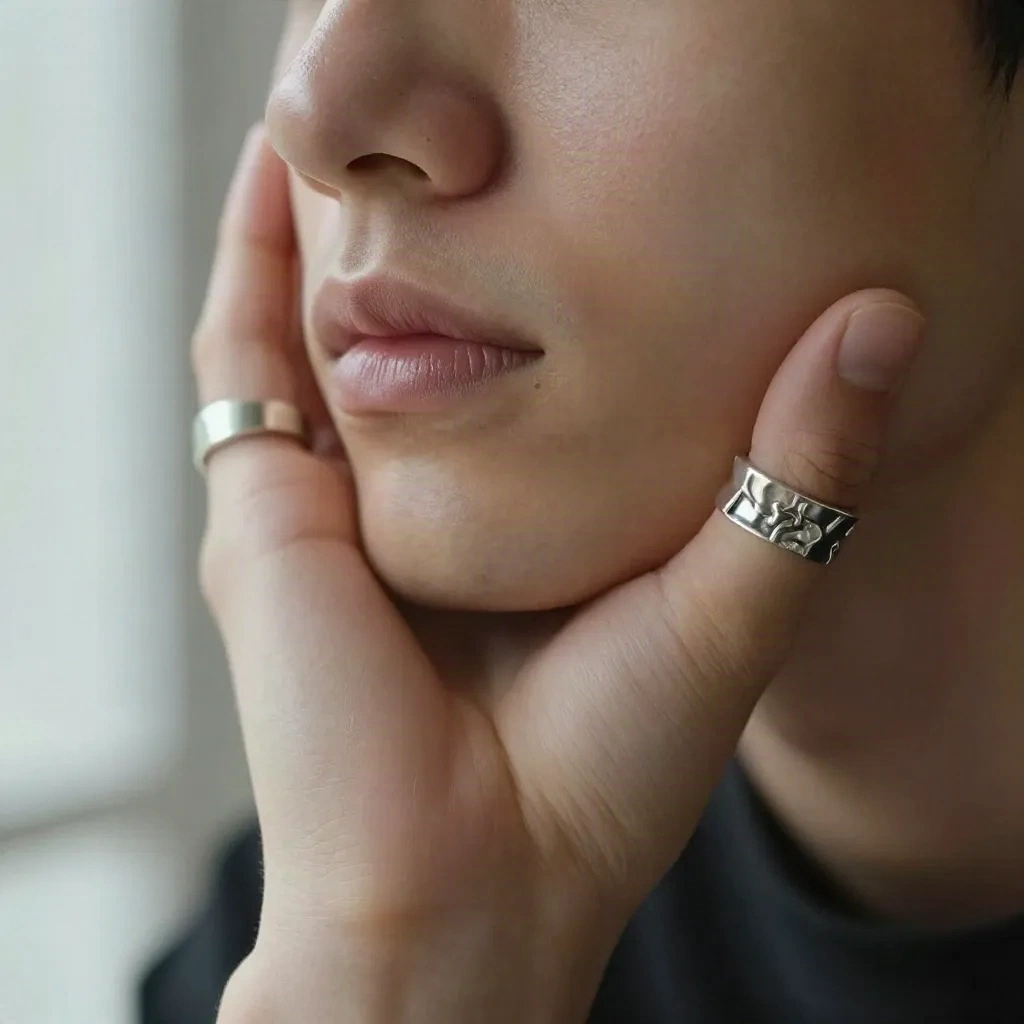
The free hand is the thing that gives most people away. Hanging it in the air looks like a mistake, so give it a job.
The ones that work:
Hand on the cheek or jaw. Fingers loose, not pressing. It adds structure and hides nothing.
Hand in your hair. Take one frame while it moves and one when it settles. The moving frame usually wins.
Hat brim or collar tug. A small gesture, not a big one.
Fingers at the lips. Works for a quiet, editorial mood if you keep the hand relaxed.
Skip the peace sign. Not because it is cursed, but because it reads as default. If you are going to use a hand pose, pick one that looks like you were interrupted mid-thought.
What about the look-away, the laugh and the "ugly" frame?
These are the candid-coded poses, and they are the reason a lot of feeds feel more real than they did two years ago.
The look-away. Face the lens, then turn your eyes to something off-frame right before you shoot. Outdoors, near a cafe window or on a street corner, it feels like a friend caught you mid-conversation.
The real laugh. Do not fake a smile. Think of something mildly funny, or ask a friend to say something dumb, and shoot through the laugh. A neutral, quiet expression is just as valid as a laugh, though. Pick the one that fits your mood.
The silly frame. Pull a face on purpose. Most of them will be bad. One will be the best selfie of the month, because it is the only one that does not look arranged.
Which one should you pick? If you want to look relaxed, go with the laugh. If you want mystery, the look-away. If you want people to comment "ok this is so you," the silly one.
How do you take selfie poses when you are alone and the arm is not enough?
Use a timer. Prop your phone against a stack of books, a bag or a shelf, switch on the 3 or 10 second timer, and step into the frame. Suddenly you are not limited by arm length, and the hands are free.
This is how you get the waist-up shots, the sitting-on-the-floor shots and the golden hour shots where you are small in a big frame. It also forces the issue on light: set the phone near a window and face it.
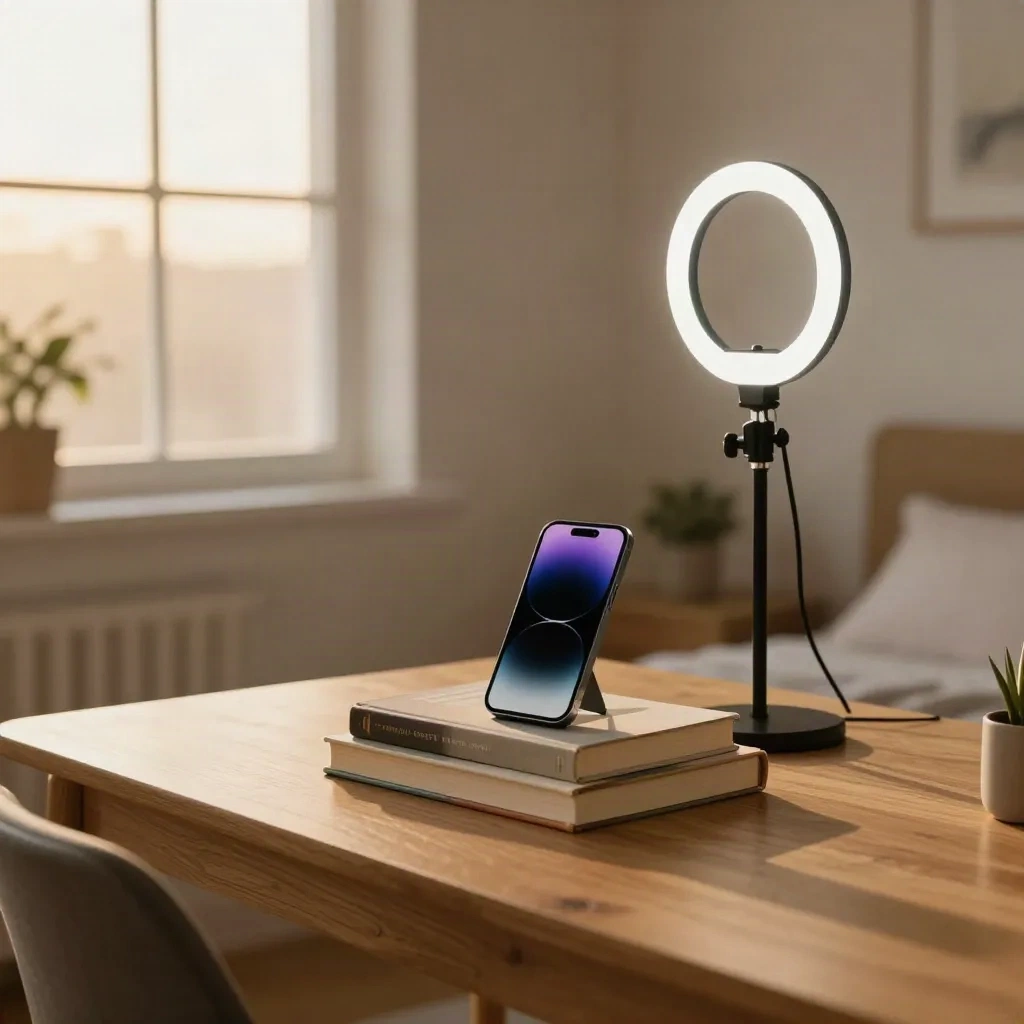
A ring light is optional. In bright daylight it does nothing useful. In a dark room it gives you even light and those round catchlights in your eyes, which some people love and some find a bit flat. If you have a window, use the window.
The friction: timers mean more setup and more rejected frames. That is fine. Take 15, keep two.
Group selfies, pets and props: what changes?
A few rules, because more faces means more ways to go wrong.
Keep every face fully visible and at roughly the same distance from the lens. The person at the back who is half-cropped will not forgive you.
Shoot some frames where everyone looks at the lens and some where everyone looks at each other. The second set is usually the better one.
For pets, get the camera to their eye level and let them leave if they want to. A pet who is bored looks bored.
Props should say something. A bike, a plate of food or a record sleeve tells people where you were. Random objects look random.
If you are into it, a photo of a printed photo of yourself, with a Polaroid border, is a decent way to make a selfie feel like a throwback without a filter.
What do you do after you have the pose?
Edit lightly, then decide whether the shot needs a style.
For cleanup, tools like Lensa, Remini and Facetune each do different jobs. Lensa leans toward artistic portrait treatments. Remini is mainly for sharpening a soft or low-res shot. Facetune is for touch-ups and retouching.
For the quick, native version, Snapchat's lenses and in-app tools are still the fastest way to get a filter on a live selfie. They are also the ones your friends have already seen a hundred times.
The point where AI styles come in is when the pose is already strong and you want a new look: anime, Renaissance portrait, Y2K mall teen, doll, and a lot more. Facetopia has 180+ styles, with 10 free transforms per day, so you can run the same selfie through a few and see what sticks. En vrai, a clean source photo matters more than the style you pick. Soft light and a three-quarter turn give the model a lot more to work with than a dark, straight-on frame.
The thing to know: the same selfie can look great in one style and strange in another, and some styles handle certain skin tones and glasses better than others. Try two or three before you decide.
Which selfie poses should you skip in 2026?
A short list, because opinions are the fun part.
The duck face. It has been dead for years and it is staying that way.
Full-flat, straight-on, no-tilt shots. Unless you are doing it on purpose, it is the ID photo look.
Heavy from-below selfies. One in a while is fine. A whole grid of them is a lot of nostril.
Overposed hand claws. If your hand looks like it has a plan, it is too much.
Posing around a filter you have not checked. Always preview the filter before you shoot. Some of them warp the edges of your face and the pose along with it.
What to try this week
Pick one pose, not five. Take twenty frames, keep two, post one. Do it again tomorrow with a different pose.
That is how you find out which selfie poses are yours. The three-quarter turn is a safe start, the look-away is a good second, and the mirror selfie with a weight shift is the one to work on if you want a feed that looks like someone who has plans on Saturday.